How to Turn Driftwood into a Masterpiece!

How it Began
Last summer I picked up the most beautiful piece of driftwood at my cousin’s cottage. As soon as I saw it, I knew exactly what I wanted to do with it.
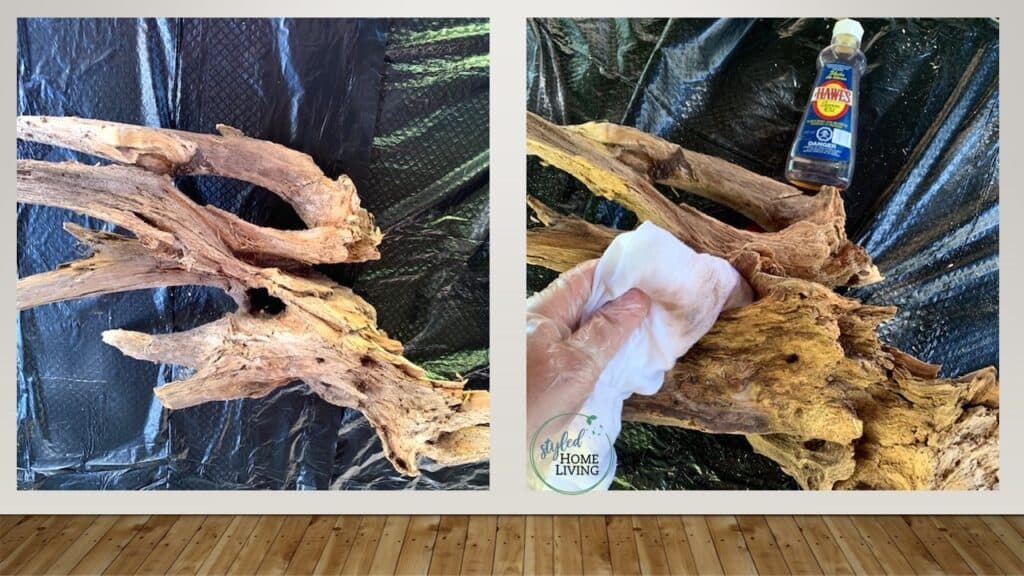
The problem was, it was in terrible shape. Everytime I touched or moved it, pieces would literally crumble off it. It was extremely brittle and fragile. I attempted to put several layers of different natural oils on in to help put some moisture back in but it really didn’t help that much. I also didn’t want the wood to be shiny.
My Vision
My vision was to mount the piece of drifwood on a post that was drilled into a wooden base. Sounds easy right? Not so much 🙁
Problem Solving
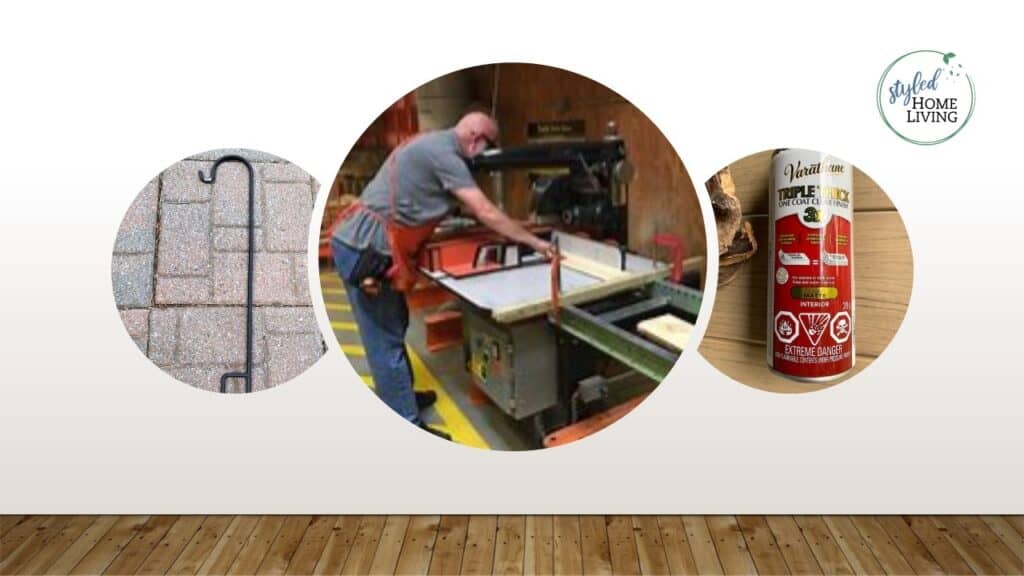
Before I could even think about attempting this, I had to find a solution that would prevent the driftwood from crumbling. I discovered this matte finish varathane spray for unfinished wood. See above photo. I think I sprayed it about 4-5 times outside and let it dry for several days between each coat. I panicked at first since it went very dark when it was wet, but then it eventually dried back to the original colour. I was also relieved that it truly had a matte finish.
Supplies
Off to Home Depot I went to buy my base. I chose a beautiful cedar plank and had the gentleman cut a 13″ piece off one end. There is no fee for that cut and I knew it would be done properly. I brought the remainder of the plank home for future projects.
I looked up and down every isle for a piece of pipe that I could use as the post but I didn’t see anything that was the right diameter and I didn’t think a thin wood dowel would be strong enough. Then I realized I had the perfect thing right in my garage. I had an extra black metal shepherd’s hook (for hanging plants) that comes apart in pieces. You can buy these in season at the dollar store or garden centre. The rod was the perfect thickness and it was strong enough to support the weight of the driftwood.
You Need The Right Tools
Having the right tools is crucial for this project and I didn’t have them! However, I knew my friend and client (Jeff Wilson) had everything that I needed and he was happy to help out. I also knew he was a perfectionist like myself 🙂
I knew the direction I wanted the driftwood to ‘flow’ and I was grateful that it happened to be the only spot underneath that was thick enough to drill into. I was lucky with that. Sometimes, the piece of wood will dictate what can and can’t be done. That’s the cool and also frustrating thing about working with wood. I’ve really had to let go of some of my ‘control issues’ lol.
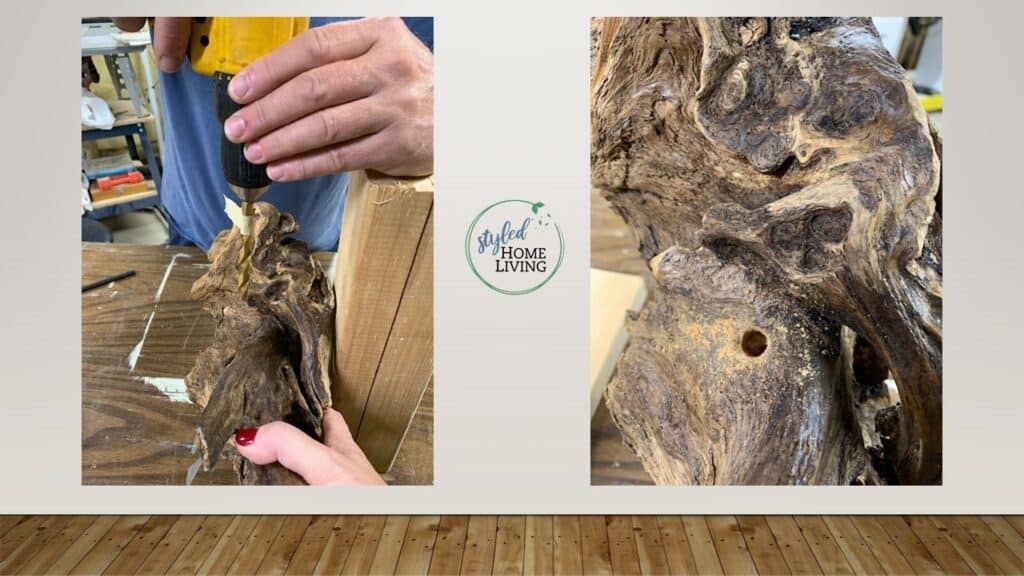
Jeff was very meticulous and made sure to drill into the wood at the exact required angle while I held the wood in place. I leaned the driftwood against a board so it was held at the right angle. If the angle wasn’t straight, the wood would fall over. He taped off the drill bit so he knew how far in he needed to drill.
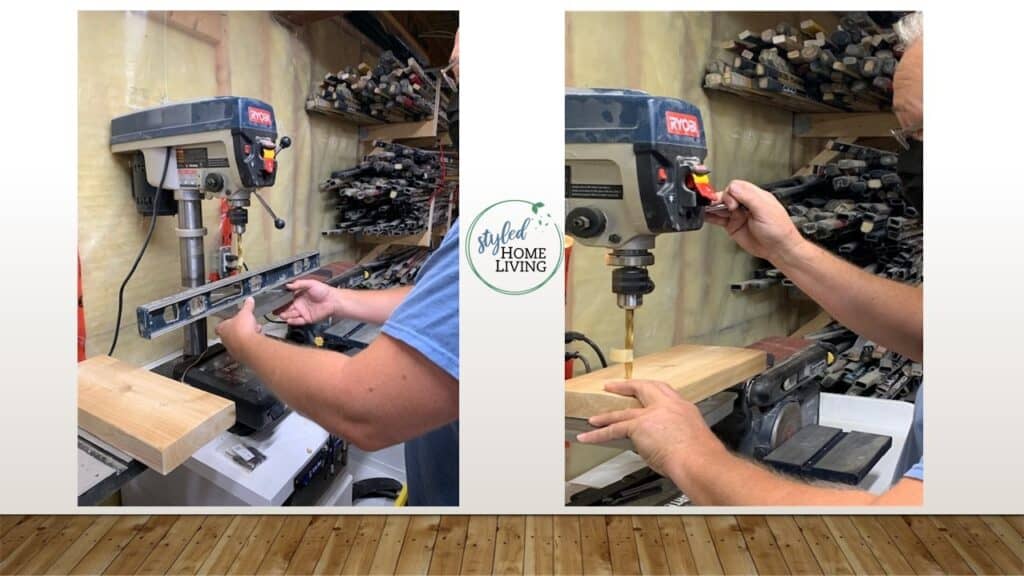
I was grateful that Jeff had a drill press to drill straight into the base. Again, if any of the drilling was not exact, everything would be off balance and tip over. He took a lot of time using his level and right angle to make sure everything was perfect. This would have been much harder just tyring to drill it freehand.
I have to admit driving over to his house I prepared myself mentally that it might not work and to not be disappointed. Sounds silly since it’s only a piece of driftwood and I could always get another piece, but I had grown attached to this piece and knew exactly where I wanted to put in my house. There is also the sentimental value of a family holiday.
I had a huge sigh of relief when the drilling part was done since I knew the rest was going to be easy.
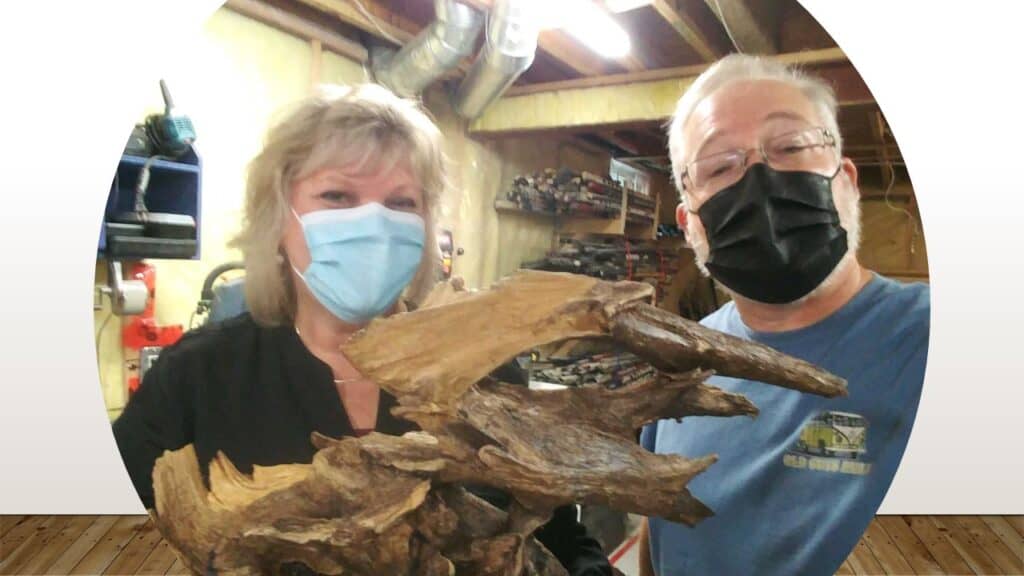
I can’t thank Jeff enough for his craftsmanship 🙂
Finishing Touches
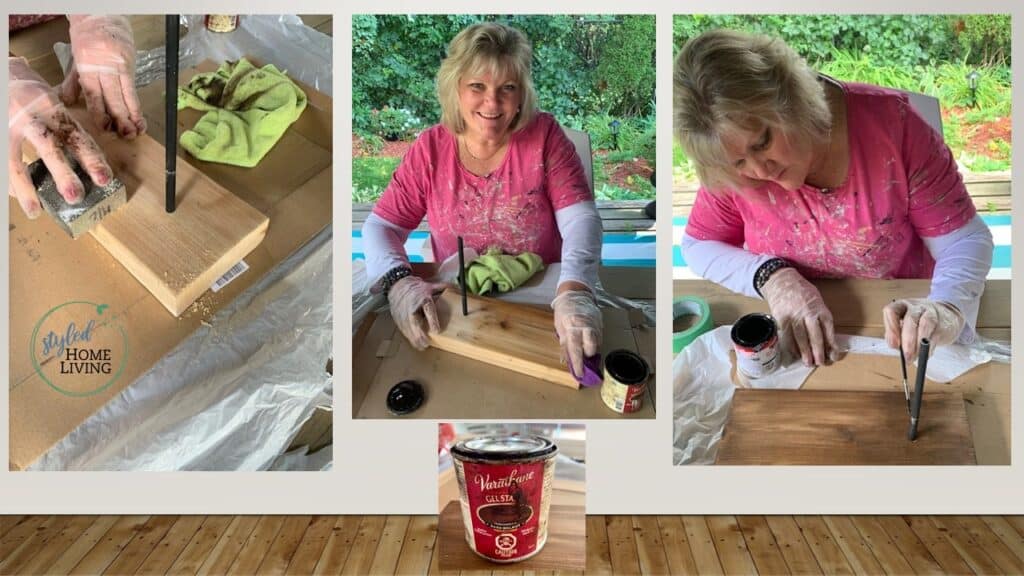
Once I got it home, I was able to give the base a light sanding. The pipe fit snuggly into the hole so I left it in instead of disturbing it. Jeff did such a good job with the drilling, I didn’t even need any glue.
After a very light sanding, I gave a coat of dark walnut gel stain with a rag to the base. Because the base was cedar, it started to look pink with the stain on it so I put a couple more coats to make it similar to the drift wood.
My metal post (from the garden shepherd’s hook) got pretty scratched while we were sawing it to the right length. I simply used some black matte paint to give it a dark rich look.
The Final Product
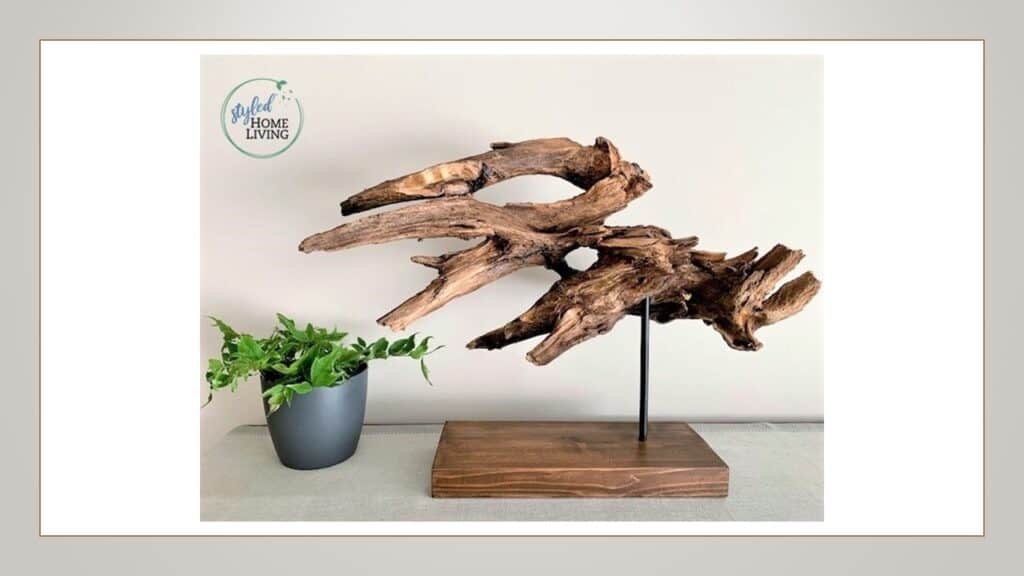
I couldn’t be happier with my original, natural and organic piece of art. I love how amazing it looks from every angle. I also love how the post is not in the centre of the base. I think it looks like ‘birds in flight’.
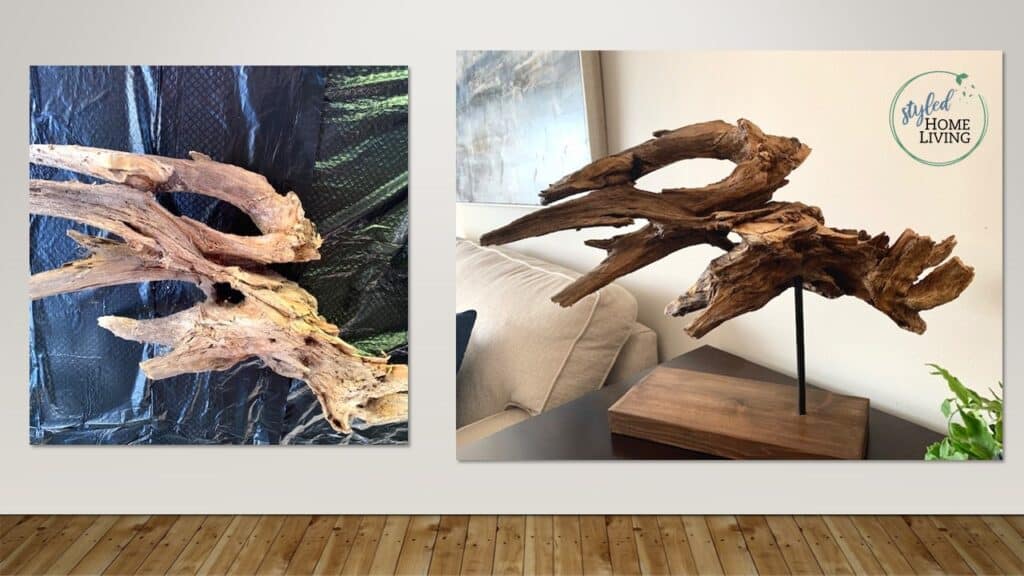
It’s always so incredible to see your vision come to fruition right before your eyes after so many months thinking about it.


Responses