The Best Filler When Making Winter Urns
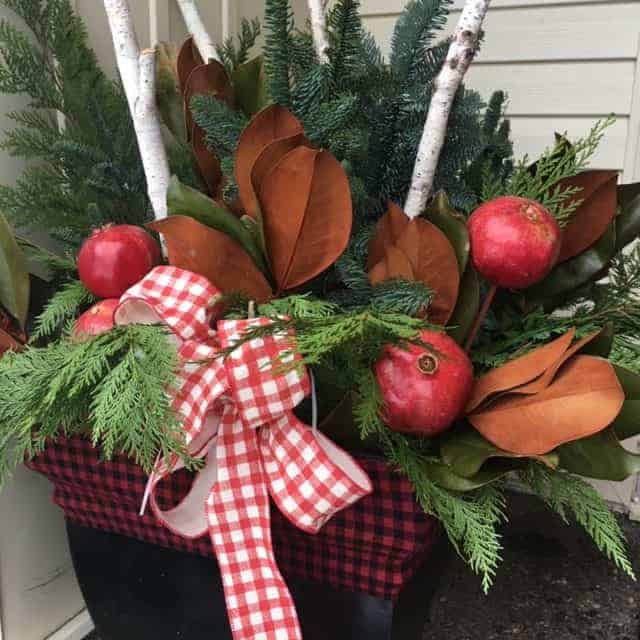
I always look forward to making my outside winter urns. Unfortunately when you live in the city, you can’t just go out in the back woods and cut branches off trees. And buying several cut bundles at the stores can add up very quickly since they can go up to $10 for a few branches.
Our Family Tradition:

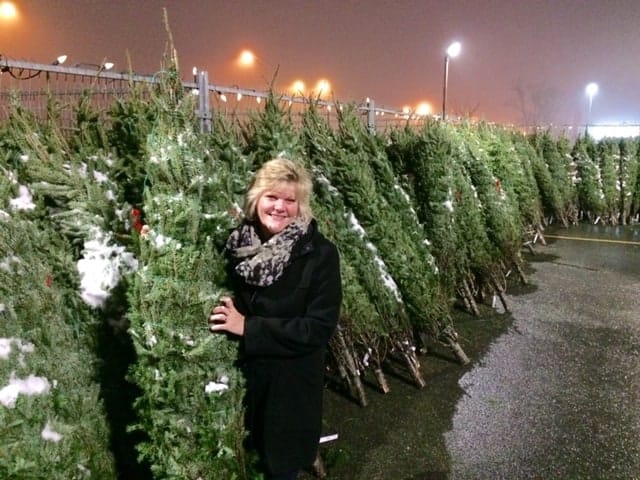
This may sound strange, but every year we buy a $20 Christmas tree from IKEA when they first come on the lot in November. They are the cheapest ones you can find ($20)and you also get a coupon to use at the store in January for $20 after you spend $75. I don’t care the size or shape since I completely strip the tree.
Cheapest Tree We Can Find
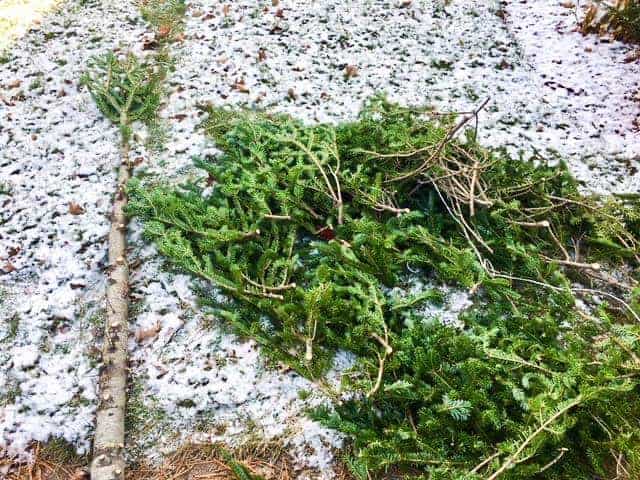
Every single branch is cut off to the trunk. This way I have enough branches for my urns, some swags, and I always have fresh branches throughout the house on my dining buffet, the top of my piano and around my fireplace. I just keep the extra the branches in the cold garage and bring them in to replace the with older ones in the house.
Then I give the striped tree trunk to my friend who makes all kinds of wooden crafts out of wood. Nothing is wasted.
All Natural Elements

I still buy my magnolia leaves and a couple bundles of different greenery to make the urn interesting, but it’s still so much cheaper this way.
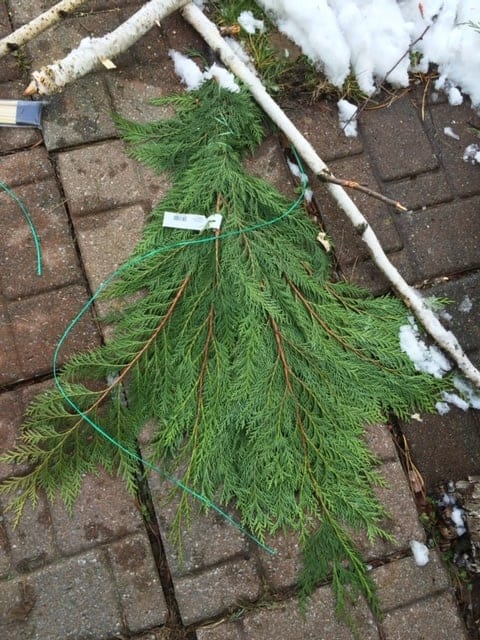
Plan Ahead
When I’m out hiking on trails in the summer, I pick up birch branches from the forest floor and keep them knowing that I will use them for the urns. I also gather pinecones since they can be used throughout the house year round. Start with your tall birch branches and then start to build your base with all the different branches. Make sure they are pushed in deep enough so they don’t blow away.
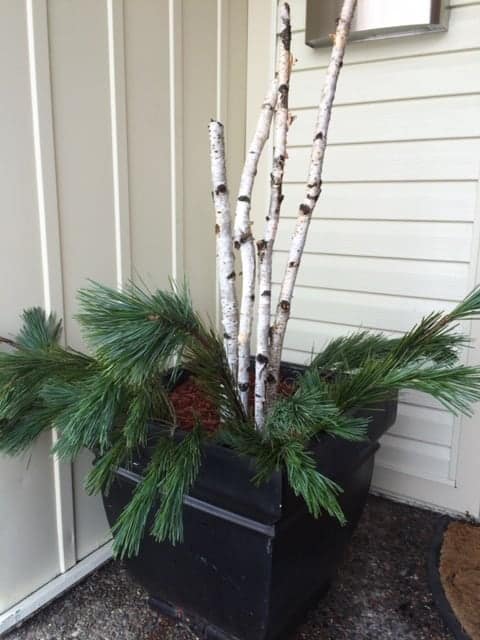
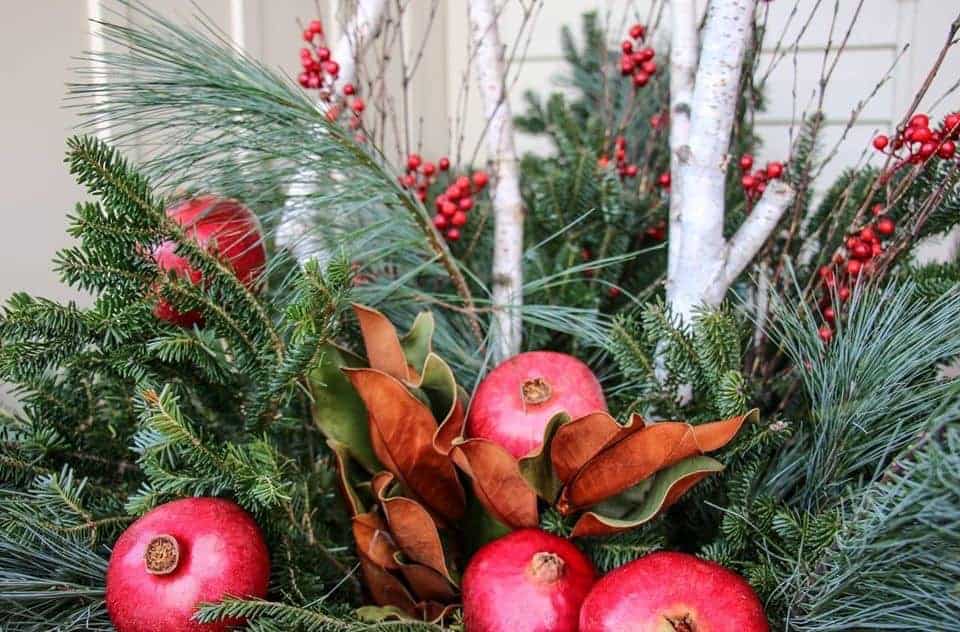
Adding red berries and fresh pomegranates really bring the display to life. I skewer the pomegranate on thin dowel to keep them in place. Make sure when you handle the pomegranates you wear disposable gloves. When the juice drips out it stains badly. One year I made the mistake and did it over my driveway and it looked like a crime scene for a very long time. In Canada, with the weather being so cold, the fruit freezes so they will last until the spring. I also like the idea of adding some tangerines to the urn for an unexpected pop of colour that complements the magnolia leaves.

Since everything in the urns is very natural looking, as soon as I remove the ribbons, it no longer looks like it’s for Christmas and can last until the weather gets warmer. I sewed a little fabric plaid collar around the top of the urn to make it look more cozy. The magnolia leaves will look as good as long as the urn will since they freeze. They might just lose a bit of their vibrancy.
Complement Your Urns

Since I have so many branches I can make as many wreathes and swags as I want. I just match the bow to whatever ribbon I use on the urn for a cohesive look. In the photo above, I tied a bunch of branches at the top with wire and covered the wire with the ribbon. The berries and the pinecones were wired to the branches. The key is to repeat what you’ve done in the urns.
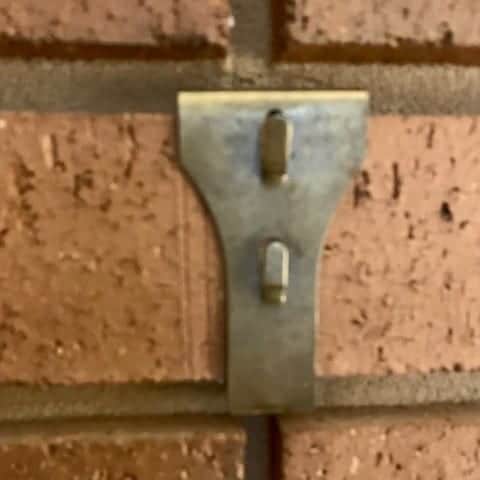
These clips can be found at most big box home reno stores but I found these ones at Lee Valley Tools. They’re great since you can move them around and they don’t harm the brick. The are very useful for your indoor brick fireplace as well.
Happy Crafting Everyone!

